- Home >
- Products
PRODUCTS
Tool Correction System / for Special-purpose Machine
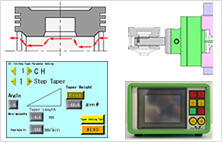
The demand for high precision in machining process is increased year by year. To meet the demand, an essential function is so-called tool correction, which “corrects” for the influence from the tool tip wear progressing at the micron level or from the thermal displacement of the machine. “Tool Correction System” combines the actuator technology based on the German-born unique elastic deformable structure and the electronics-intensive highly precise pressure control technology and realizes rapid 1-μM-precise tool correction movement. It receives acclaim from machine tool industry and auto industry and has made a remarkable achievement. “Tool Correction System” provides the following necessary functions for automated mass production.
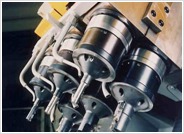
- Correction for the dimension variations caused by the tip wear of cutting tool
- Correction for the dimension variations caused by the thermal displacement of the machine tool
- Correction for the tip preset errors caused at tool change.
The system also has “Tool Retraction” function, which moves tip away from the processed surface to return to the original position. This function prevents the tool from leaving return marks on the surface so that the processed surface is kept smooth and the life of the tip is kept longer.
Products
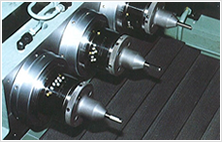
The basic item of the Tool Correction System for the finish boring process. This product made a great achievement in the past few decades with the high reliability.
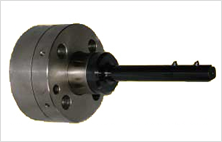
For high-speed processing and downsizing of machine, newly developed elastically-deformable design based on a different concept from Radial Setting Head
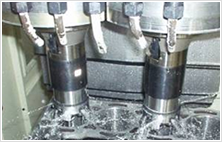
Downsized elastically-deformable design to keep high rigidity for deep hole processing. Minimal-length Setting Head.
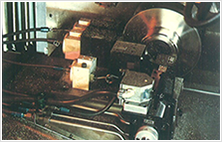
Developed for lathe processing, in which workpiece is rotated, based on the Radial Setting Head type elastically-deformable design, highly reliable for boring process.
Tool Correction System / for General-purpose Machine
Due to the diverse needs, general-purpose machine for high-mix low-volume production is the trend in machine tool, rather than mass production of limited items. The performance and quality of Tool Correction System realized for special-purpose machine is succeeded by into for general-purpose machine. While general-purpose machine enables high-speed and wide variety of processing, it is characterized by the compactness and low rigidity. Accordingly, what are required of tooling are reduction in size and weight, balance, high-speed as well as high accuracy. Tool Correction System keeps on evolving while meeting these needs.
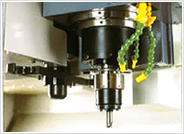
Products
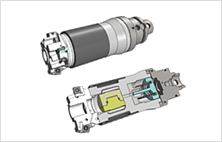
Control Air Pressure is transmitted through the center-through hole or the special path in this Tool Correction Setting Head. This Setting Head has a structure that boosts pressure by converting air pressure to oil pressure. This structure provides equivalent level of system to the system for special-purpose machine.
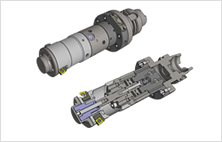
More compact elastically-deformable design to keep high rigidity for deep hole processing. Minimal-length Setting Head.
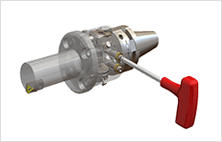
Controller-free push-type Tool Correction Setting Head. The holder has a plus and a minus button. By pressing these buttons in NC axis control, an offset performance of 1 micron/1 push is provided.
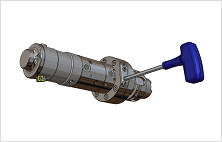
Designed for processing large and deep hole. Offset performance is provided by pressing the plus and minus buttons on the holder.
Tool Correction System / Tool Correction Control Unit
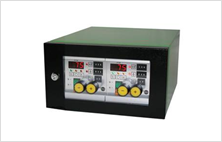
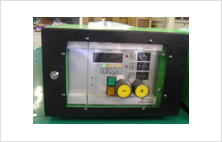
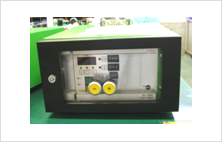
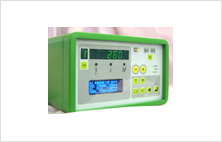
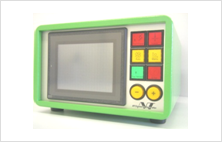
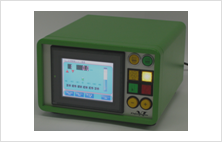
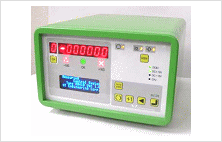
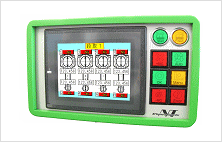
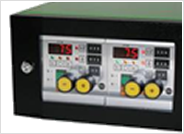
Controller for Tool Correction System with air pressure servo. The Control Unit precisely controls increment and decrement of the air pressure. The I/P Converter (proportional control valve) in the Tool Correction System provides a servo output of pressure, not airflow. The Control Unit is one of the components of the Tool Correction System, in which the boosted and converted oil pressure from the air pressure is transmitted to provide an offset performance (displacement) in proportion.
Measuring System
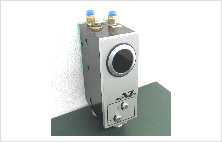
Measuring instrument to measure dimensions of workpiece with compressed air that is blown into workpiece from the nozzles. The air pressure in the circuit (back pressure) changes in proportion to the gap between the nozzles and workpiece. From the amount of change, the inner and outer diameters and thickness can be measured. This is comparison measurement, in which difference from the dimensional figures of the master workpiece is calculated and dimensions of workpiece is figured out.
